GENERAL CHASSIS

|
Removing the seat and battery 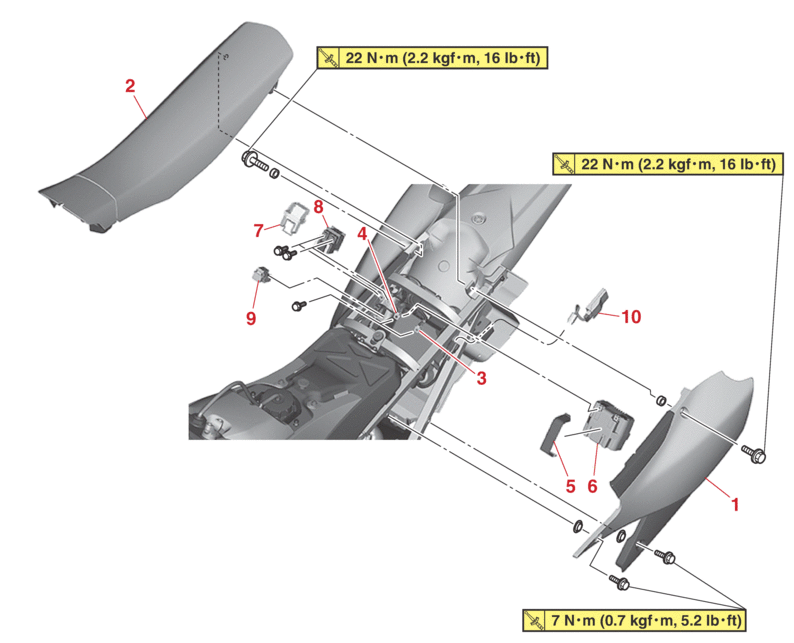 |
|||
|---|---|---|---|
|
Order |
Job/Parts to remove |
Q’ty |
Remarks |
|
1 |
Side cover (left) |
1 |
|
|
2 |
Seat |
1 |
|
|
3 |
Negative battery lead |
1 |
Disconnect. |
|
4 |
Positive battery lead |
1 |
Disconnect. |
|
5 |
Battery band |
1 |
|
|
6 |
Battery |
1 |
|
|
7 |
Cover |
1 |
|
|
8 |
Starter relay |
1 |
|
|
9 |
Main relay |
1 |
|
|
10 |
CCU (Communication Control Unit) |
1 |
|
|
Removing the side cover 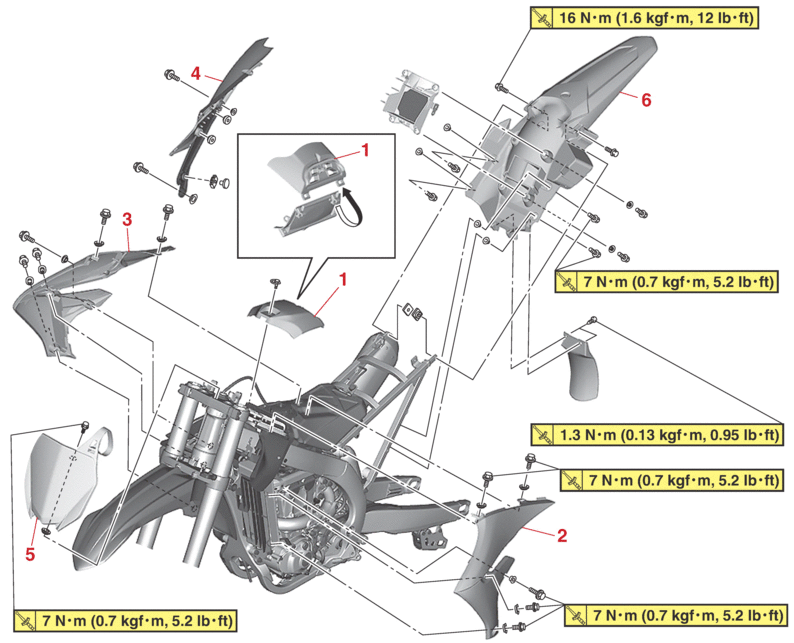 |
|||
|---|---|---|---|
|
Order |
Job/Parts to remove |
Q’ty |
Remarks |
|
1 |
Air filter case cover |
1 |
Refer to CLEANING THE AIR FILTER ELEMENT. |
|
2 |
Air scoop (left) |
1 |
|
|
3 |
Air scoop (right) |
1 |
|
|
4 |
Side cover (right) |
1 |
|
|
5 |
Number plate |
1 |
|
|
6 |
Rear fender |
1 |
|
REMOVING THE SEAT
|

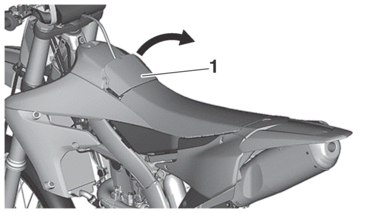
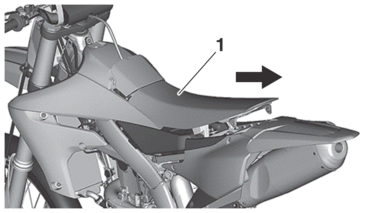
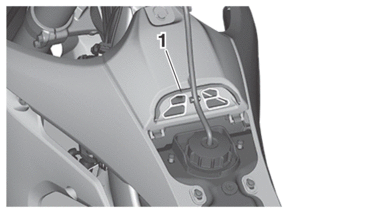
2.Remove:
-
Seat “1”
3.Check:
-
Seal “1”
Damage/wear/detachment → Replace.
4.Replace:
-
Seal “1”
|

REMOVING THE NUMBER PLATE
1.Remove:
-
Bolt (number plate)
-
Number plate “1”
|
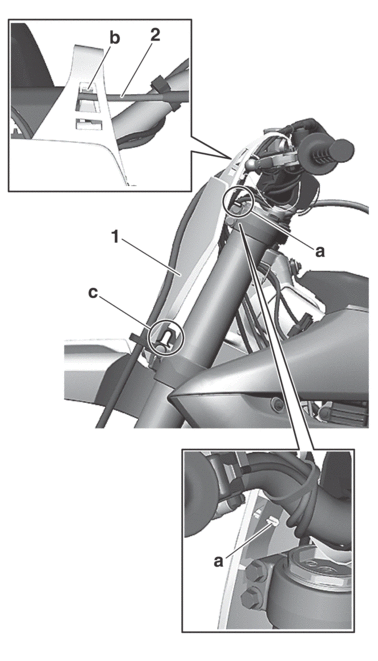
INSTALLING THE AIR SCOOP
1.Install:
-
Air scoop (left “1”/right)
|
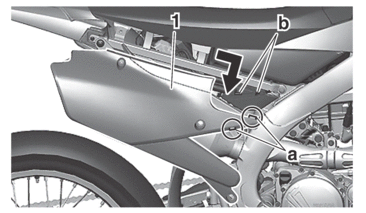
REMOVING THE SIDE COVER
1.Remove:
-
Side cover (right) “1”
|
|
a. |
Projection |
|
b. |
Slot |
INSTALLING THE SIDE COVER
1.Install:
-
Side cover (right) “1”
|

|
a. |
Projection |
|
b. |
Slot |
|
c. |
Rib (side cover) |
|
d. |
Rib (rear fender) |