FRONT FORK

|
Removing the front fork legs 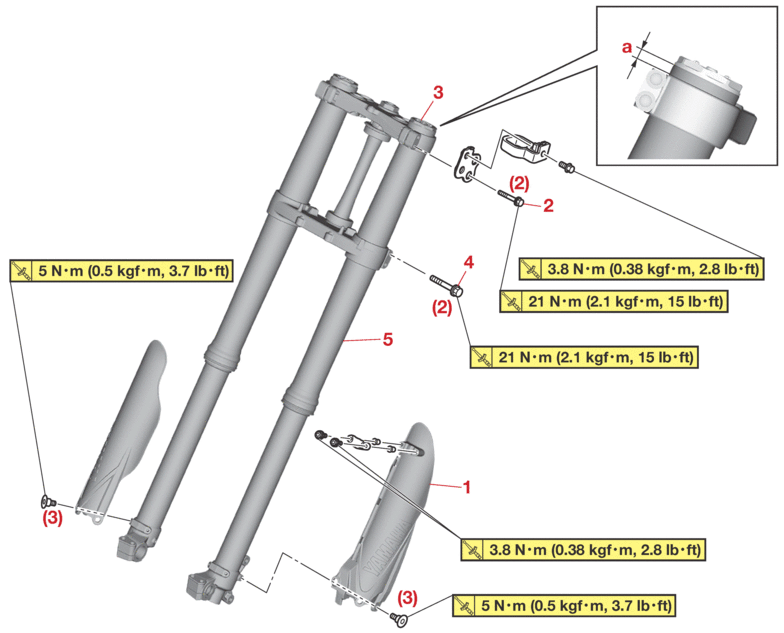 |
|||
|---|---|---|---|
|
Order |
Job/Parts to remove |
Q’ty |
Remarks |
|
|
|
|
Use a maintenance stand to raise the front wheel off the ground. |
|
|
Front wheel |
|
Refer to FRONT WHEEL. |
|
|
Front brake caliper |
|
Refer to FRONT BRAKE. |
|
|
Headlight |
|
Refer to GENERAL CHASSIS. |
|
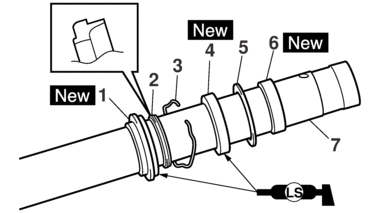
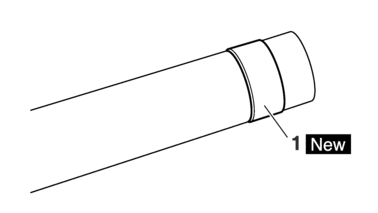
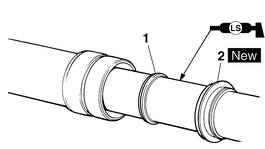
1 |
Protector |
1 |
|
|
2 |
Upper bracket pinch bolt |
2 |
Loosen. |
|
3 |
Damper assembly |
1 |
Loosen. |
|
4 |
Lower bracket pinch bolt |
2 |
Loosen. |
|
5 |
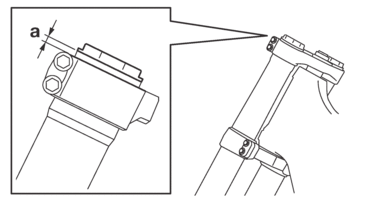
Front fork leg |
1 |
[“a” = 8 mm (0.3 in)] |
|
Disassembling the front fork leg 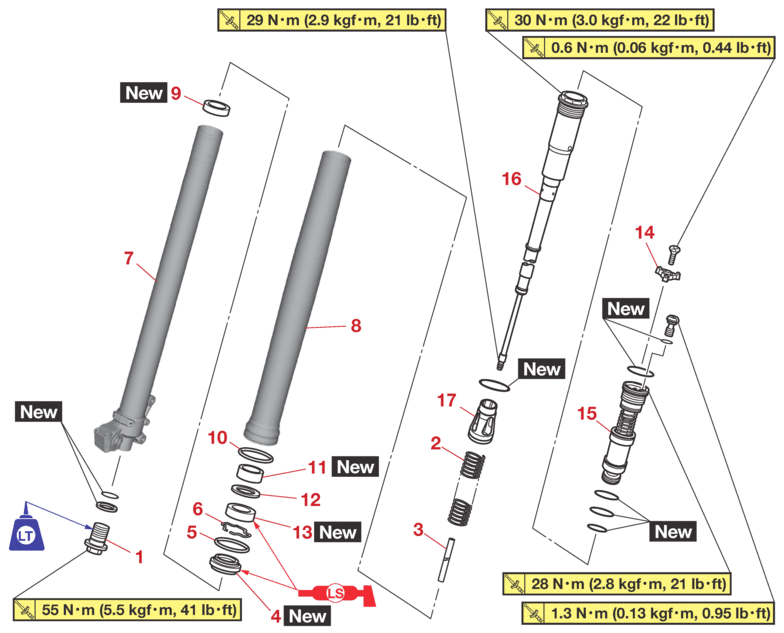 |
|||
|---|---|---|---|
|
Order |
Job/Parts to remove |
Q’ty |
Remarks |
|
1 |
Adjuster |
1 |
|
|
2 |
Fork spring |
1 |
|
|
3 |
Damper adjusting rod |
1 |
|
|
4 |
Dust seal |
1 |
|
|
5 |
Scraper |
1 |
|
|
6 |
Stopper ring |
1 |
|
|
7 |
Inner tube |
1 |
|
|
8 |
Outer tube |
1 |
|
|
9 |
Piston metal |
1 |
|
|
10 |
Protector guide |
1 |
|
|
11 |
Slide metal |
1 |
|
|
12 |
Washer |
1 |
|
|
13 |
Oil seal |
1 |
|
|
14 |
Adjuster knob |
1 |
|
|
15 |
Base valve |
1 |
|
|
16 |
Damper assembly |
1 |
|
|
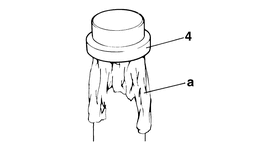
17 |
Upper spring seat |
1 |
|
REMOVING THE FRONT FORK LEGS
1.Use a maintenance stand to raise the front wheel off the ground.
|

|

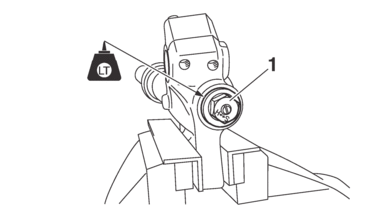
2.Loosen:
-
Upper bracket pinch bolt
-
Damper assembly
-
Lower bracket pinch bolt
|
|
|

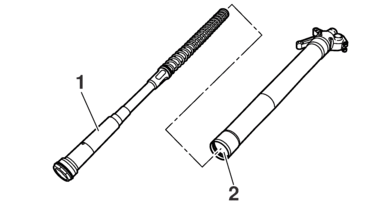
3.Remove:
-
Front fork leg
DISASSEMBLING THE FRONT FORK LEGS
1.Drain:
-
Fork oil
2.Remove:
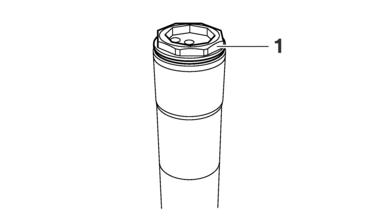
-
Adjuster “1”
(from the inner tube)
|
|

|

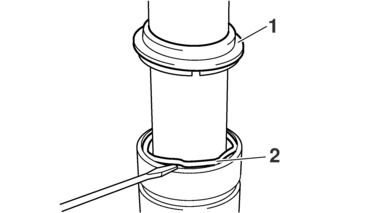
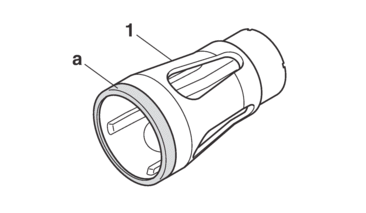
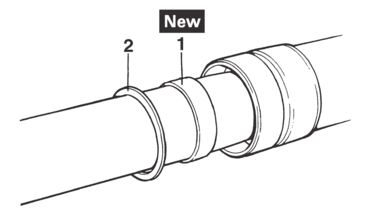
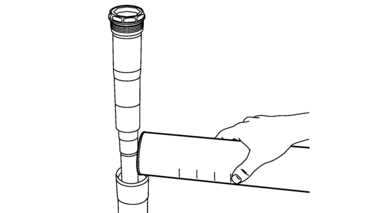
3.Remove:
-
Dust seal “1”
-
Stopper ring “2”
(with a flat-head screwdriver)
|
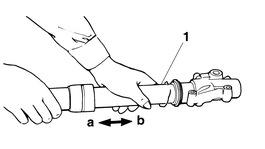
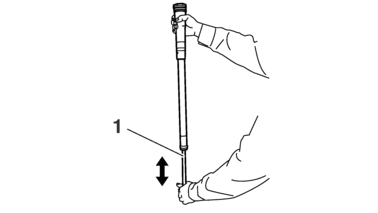
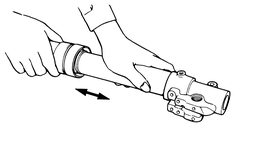
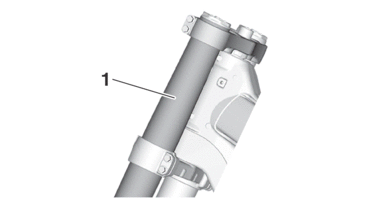
4.Remove:
-
Inner tube “1”
a.Push in slowly “a” the inner tube just before it bottoms out and then pull it back quickly “b”.
b.Repeat this step until the inner tube can be pulled out from the outer tube.
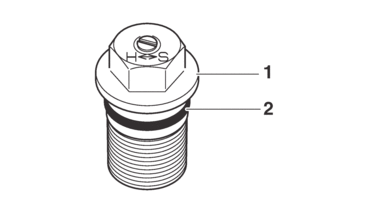
5.Remove:
-
Adjuster knob
-
Base valve “1”
(from the damper assembly)
|
|

CHECKING THE FRONT FORK LEGS
1.Check:
-
Inner tube surface
Scratches → Repair or replace.
Use #1000 grit wet sandpaper.
Damaged oil lock piece → Replace.
-
Inner tube bends
Out of specification → Replace.
Use the dial gauge.
|

|
|
2.Check:
-
Outer tube
Scratches/wear/damage → Replace.
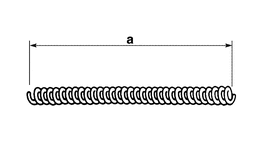
3.Measure:
-
Fork spring free length “a”
Out of specification → Replace.
|
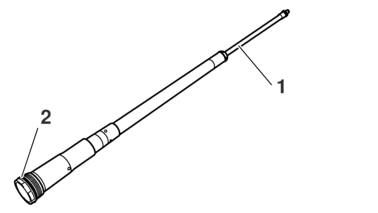
4.Check:
-
Damper assembly “1”
Bend/damage → Replace.
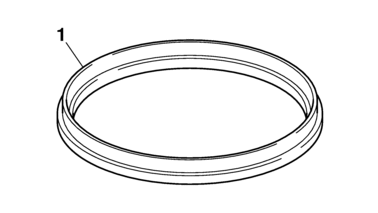
-
O-ring “2”
Wear/damage → Replace.
|
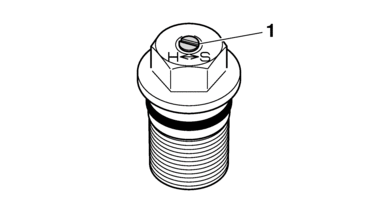
5.Check:
-
Base valve “1”
Wear/damage → Replace.
Contamination → Clean.
-
O-ring “2”
Wear/damage → Replace.
-
Base valve bushing
Wear/damage → Replace.
-
Fork spring “3”
Damage/fatigue → Replace the base valve.
-
Bleed screw “4”
Wear/damage → Replace.

6.Check:
-
Upper spring seat “1”
(contacting surface “a”)
Wear/damage → Replace.
7.Check:
-
Adjuster “1”
-
O-ring “2”
Wear/damage → Replace.
8.Check:
-
Scraper “1”
Damage → Replace.
ASSEMBLING THE FRONT FORK LEGS
|
|
1.Stretch the damper assembly fully.
2.Fill:
-
Damper assembly
|

|
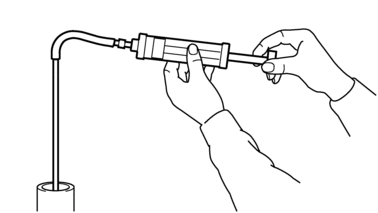
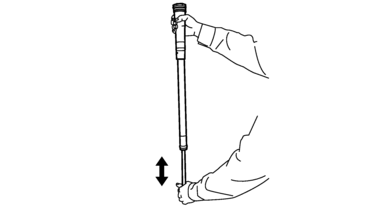
3.After filling, pump the damper assembly “1” slowly up and down (about 200 mm (7.9 in) stroke) several times to bleed the damper assembly of air.
|

4.Measure:
-
Oil level (left and right) “a”
Out of specification → Regulate.
|
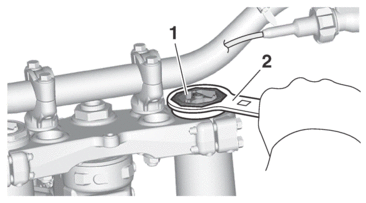
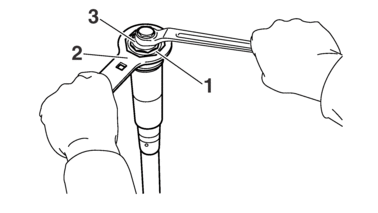
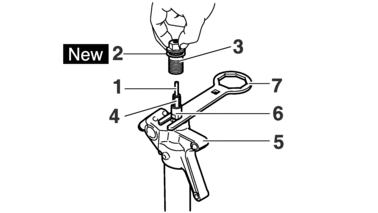
5.Tighten:
-
Locknut “1”
|
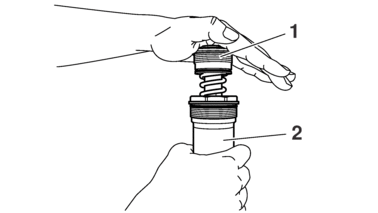
6.Install:
-
Base valve “1”
(to the damper assembly “2”)
|
7.Check:
-
Damper assembly
Not fully stretched → Repeat the steps (1) to (7).
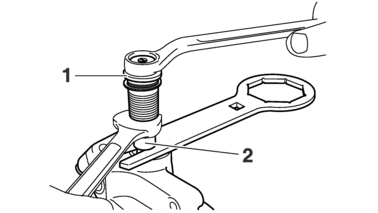
8.Tighten:
-
Base valve “1”
-
Screw (adjuster knob)
|

|
|
9.After filling, pump the damper assembly “1” slowly up and down more than 10 times to distribute the fork oil.
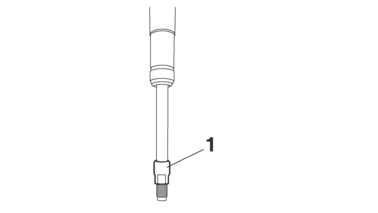
10.While protecting the damper assembly “1” with a cloth and compressing fully, allow excessive oil to overflow on the base valve side.
|
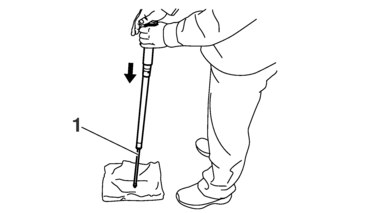
11.Allow the overflowing oil to escape at the hole “a” in the damper assembly.
|
12.Check:
-
Damper assembly smooth movement
Tightness/binding/rough spots → Repeat the steps (1) to (12).
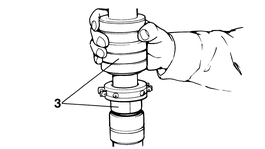
13.Install:
-
Dust seal “1”

-
Scraper “2”
-
Stopper ring “3”
-
Oil seal “4”

-
Washer “5”
-
Slide metal “6”

(to the inner tube “7”)
|
|
14.Install:
-
Piston metal “1”

|
15.Install:
-
Outer tube “1”
(to the inner tube “2”)
16.Install:
-
Slide metal “1”

-
Washer “2”
(to the outer tube)
|
|
17.Install:
-
Oil seal “1”

|
|
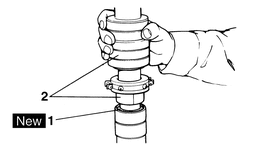
18.Install:
-
Stopper ring “1”
|
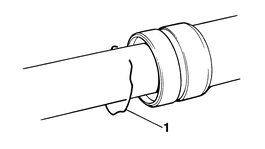
19.Install:
-
Scraper “1”
-
Dust seal “2”

|
20.Check:
-
Inner tube smooth movement
Tightness/binding/rough spots → Repeat the steps (13) to (20).
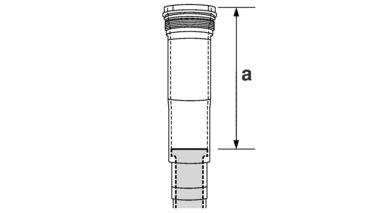
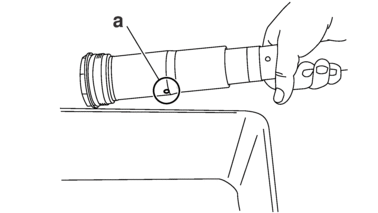
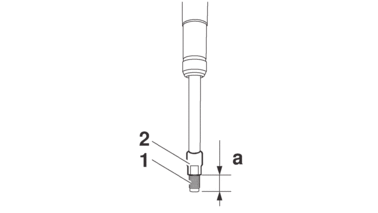
21.Measure:
-
Distance “a”
Out of specification → Turn the locknut to specification.
|
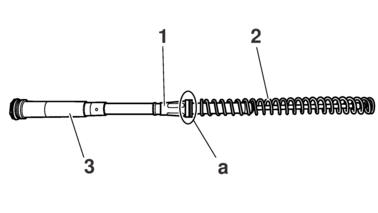
22.Install:
-
Upper spring seat “1”
-
Fork spring “2”
(to the damper assembly “3”)
|
23.Install:
-
Damper assembly “1”
(to the inner tube “2”)
|
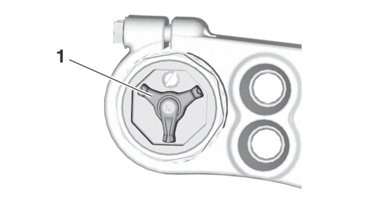
24.Loosen:
-
Rebound damping force adjuster “1”
|
25.Install:
-
Damper adjusting rod “1”
-
Copper washer “2”

-
Adjuster “3”
(to the damper assembly “4”)
|
|
26.Measure:
-
Gap “a” between the adjuster “1” and the locknut “2”
Out of specification → Retighten and readjust the locknut.
|
|

27.Tighten:
-
Adjuster (damper assembly) “1”
|
|
28.Install:
-
Adjuster “1”
(to the inner tube)
|
29.Fill:
-
Front fork leg
|
|
30.Install:
-
Damper assembly “1”
(to the outer tube)
|
31.Install:
-
Protector guide “1”

INSTALLING THE FRONT FORK LEGS
1.Install:
-
Front fork “1”
|
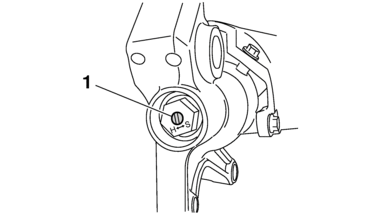
2.Tighten:
-
Damper assembly “1”
|

|
|

3.Adjust:
-
Front fork top end “a”
|
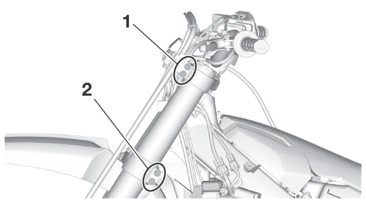
4.Tighten:
-
Upper bracket pinch bolt “1”
|
-
Lower bracket pinch bolt “2”
|
|
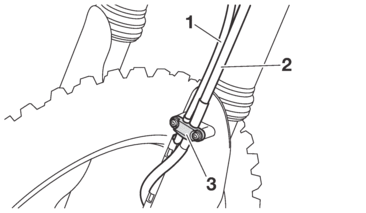
5.Install:
-
Speed sensor lead “1”
-
Front brake hose “2”
-
Plate “3”
(to the left front fork protector)
|
6.Install:
-
Protector “1”
-
Front fork protector bolt “2”
|
7.Adjust:
-
Rebound damping force
|
8.Adjust:
-
Compression damping force
|